WEEK 08 · 2026-03-02 ~ 08
Particles and the station
Built the first real version of the PIC/FLIP particle system and the MRT station exterior in parallel. The simplify feedback from Week 7 shaped both decisions.
The feedback from Week 7’s group consultation said one word more than any other. Simplify. This week was the first time I tried to act on that word instead of debating it. Two things happened as a result. The PIC/FLIP particle simulation, which had been running as a technical experiment, got built into a real system that the project depends on. And the MRT station exterior, which was supposed to be the visitor’s first moment of contact with the work, got its actual visual language for the first time.
Rather than describing either one through paragraphs of explanation, this week’s entry lets you work with them directly. The embedded systems below are live. You can reach into them, adjust them, and see what they do.
WHAT IS PIC/FLIP
PIC/FLIP stands for Particle-In-Cell and FLuid Implicit Particle. It is a hybrid fluid simulation technique that blends two older approaches. PIC treats the world as a grid of cells where velocities live on the grid. FLIP treats the world as a swarm of particles where each particle carries its own state. Neither works well on its own. PIC alone loses detail because it averages across grid cells. FLIP alone is noisy because particles have no way to stay coherent with each other. The blend, usually around ninety-five percent FLIP and five percent PIC, keeps the detail of the particles while borrowing the smoothness of the grid.
The component below is a live implementation of the blend. Move your cursor over it to add force. Adjust the parameters to see how the fluid behaves differently. Toggle the view mode to see the particle view, the grid view, and the combined view.
The technique was developed for feature film visual effects in the 2000s and has been adapted for real-time use in the last few years. My version runs on the GPU through compute shaders. That is why the migration to native in Week 4 mattered. A browser implementation would not have been able to carry a simulation at the density my project needs.
Why David Li
The implementation I started from is David Li’s WebGL fluid simulation at github.com/dli/fluid. When I decided to bring PIC/FLIP into the project, I spent several days looking for a reference I could actually learn from. Most of what I found was either academic papers written for correctness rather than readability, or offline implementations built for film visual effects at a scale nowhere near what I needed. David Li’s code was the only real-time, browser-based, openly available PIC/FLIP reference I could find that was written to be read.
The fit went beyond accessibility. The scale of David Li’s simulation was already in the right range for an interactive artwork rather than a scientific tool. Tens of thousands of particles, not millions. More importantly, the interaction model matched the philosophy of my project almost exactly. In David Li’s original, the fluid does nothing until the mouse moves. Stillness produces stillness. Motion produces response. This is the same principle I needed for sound. Silence leaves the particles at rest. Sound brings them to life. The algorithm was not just a technical match. Its underlying logic was already pointed in the direction I was trying to go.
What I built on top of that is where the project becomes mine. David Li’s simulation runs in WebGL and JavaScript. I ported the core algorithm to Python and ModernGL with OpenGL compute shaders, which is what made the native application possible in Week 4. The original handles only the six walls of its grid container. Mine extends to AABB-based internal obstacles so the particles can respond to individual buildings in the city model, which is what Week 7’s integration work required. The original reads its force from mouse movement. Mine reads from audio frequency bands through an FFT pass, so bass, midrange, and treble each push the particle field in different ways. The core loop is David Li’s. Everything layered on top is the project.
Why David Li’s implementation became the reference
When I started looking for a working PIC/FLIP implementation to learn from, I went through the usual list. Academic papers are precise but unhelpful for someone building an actual application. Nvidia’s Flex and Houdini’s FLIP solver are production-grade but closed source, so I could read about them but not read them. SPH tutorials exist but SPH is a different method that produces different artefacts. What I needed was source code that was real-time, visually convincing, and readable. That narrowed the list down very quickly. David Li’s WebGL fluid implementation, published at github.com/dli/fluid, was what I kept returning to.
There were three reasons I chose it over the other options I found. First, it ran in the browser, which meant I could see it working before I committed to porting anything. I could open the page and watch the fluid behave, change parameters, and form my own judgement about whether this was the quality level the project needed. Most of the other implementations I found required compiling something or running a research environment. Second, the code itself was readable. David Li wrote the simulator in a way that separated the physics from the rendering, which meant I could understand what each part did without also having to understand WebGL at the same time. Third, the implementation was documented enough that I could translate the structure into Python and ModernGL without guessing what the original intent was.
The deeper reason, which only became clear as I started using the code, was the mental model underneath it. David Li’s fluid does nothing on its own. If the mouse does not move, there is no force. If nothing disturbs the particles, they settle. The fluid only reacts when something outside it acts on it. That is the same principle my project runs on. Audio is what acts on the fluid. Quiet audio means still particles. Loud audio means reaction. I could have built my system around a different principle, but I did not have to because David Li’s was already the right one. The AABB building boundaries, the audio force mapping, and the scale up to hundreds of thousands of particles were my extensions, but the core philosophy of stimulus-driven motion came from his work.
WHY PARTICLES
A reasonable question to ask at this point is why the whole project is built around particles at all. Sound does not look like particles. Cities do not look like particles. The choice is not obvious from the outside, and the dissertation only partly explains it. The clearer answer comes through seeing what particles can do that other visual forms cannot.
Three contrasts are at work. Each one is a reason for the choice.
Three reasons the visual form is particles
Sound ↔ Particles
Sound is a continuous signal. Particles are thousands of independent units. Putting a continuous signal next to a discrete field is what makes the connection readable. The eye sees the wave go up and the particles move. The perceptual link forms without needing to be labelled.
Geometry ↔ Flow
City geometry is fixed. Architecture does not move. Particles are in constant motion. The two layers coexisting in the same space is what makes a place feel alive rather than staged. The buildings hold the boundaries. The particles fill the air between them.
Individual ↔ Collective
One sound event is small. But when it happens, thousands of particles respond at once. The scale of response is part of the sensation. A single shape moving would not feel like a place reacting. The collective response does.
The contrasts are not decorative. Each one answers something specific. Sound is continuous and needs a discrete visual form to read clearly against it. City geometry is static and needs something in motion beside it for the space to feel alive. A single audio event has to feel larger than a single visual event, which is why thousands of particles responding together carries the moment in a way that a single shape cannot.
Particles are the protagonist because they are the only visual form I found that can behave this way.
THE MRT STATION EXTERIOR
The simplify feedback from the previous week had one clear implication. The visitor needs a single, unambiguous entry point before anything else happens. A place where they land and understand what the work is before being shown any of the complexity underneath. In the logic of Singapore, that place is the MRT. Everyone who visits the city moves through the stations. They are not backgrounds. They are the thresholds of every district.
So this week I built the exterior as an MRT station. Not a literal reproduction. A reinterpretation.
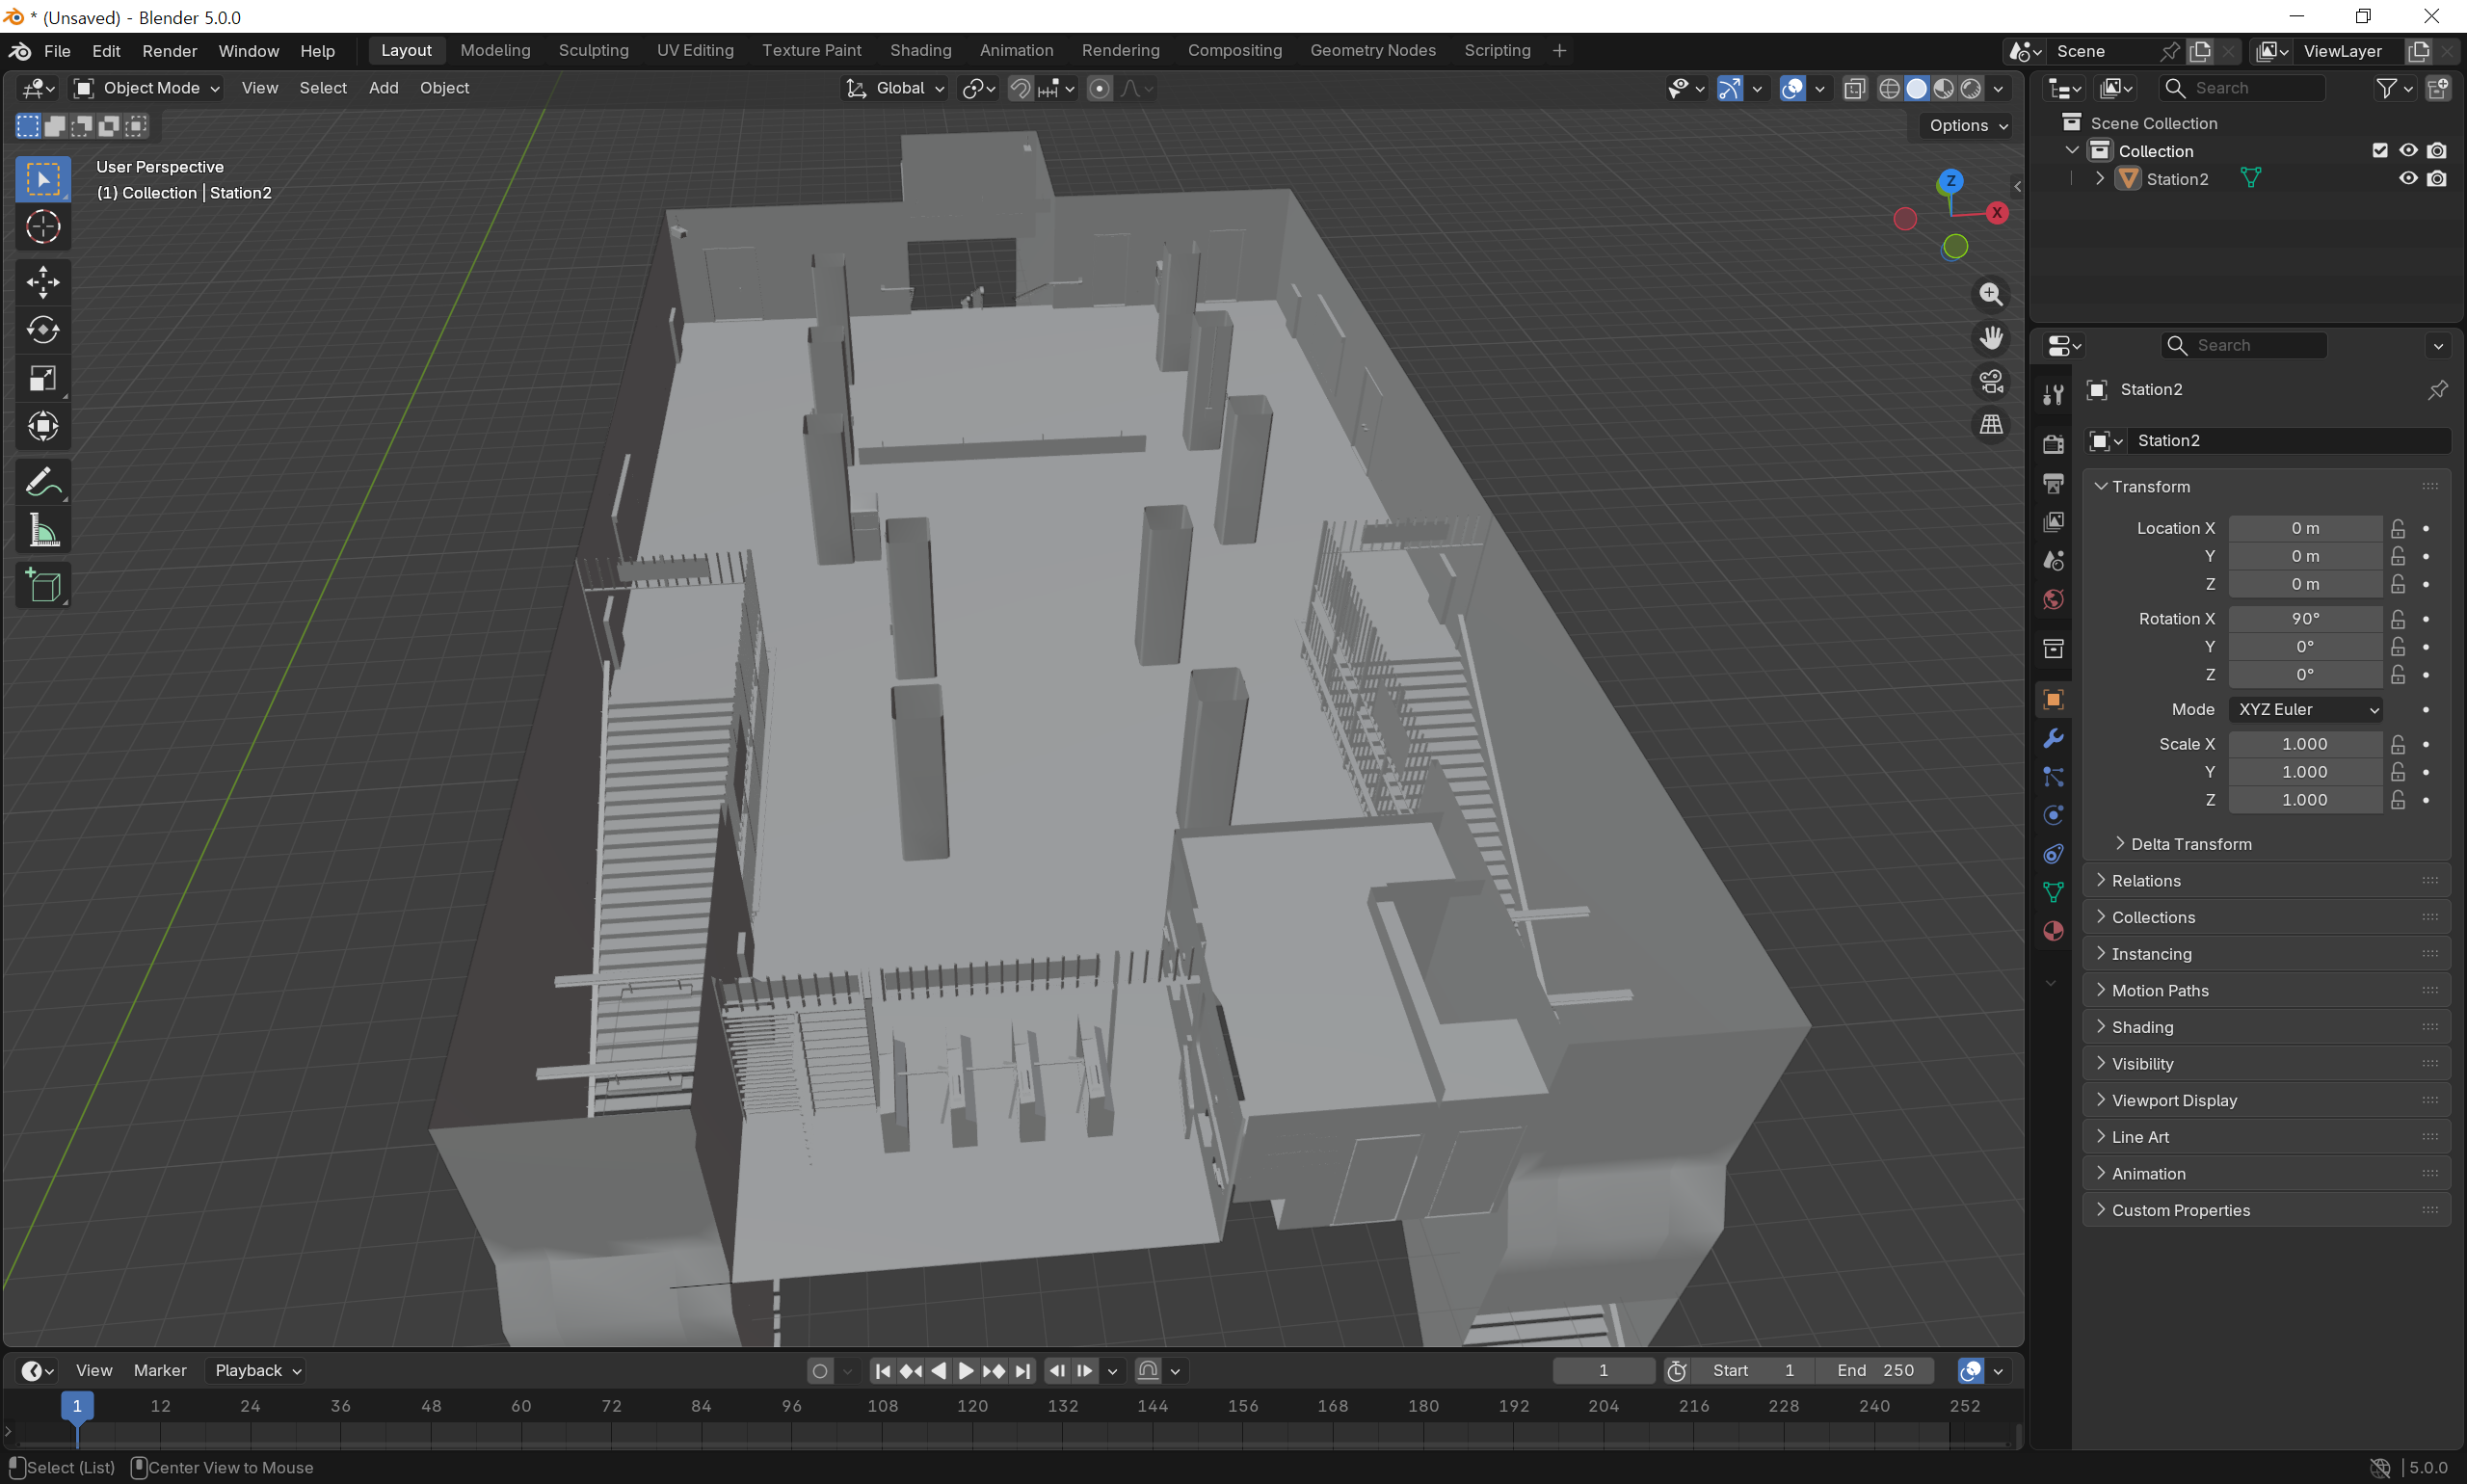
Stage 1 · Modeling
The station as a raw architectural block-out in Blender. Untextured volumes, plain lighting, plain geometry. The starting point is the spatial structure itself, not its surface.
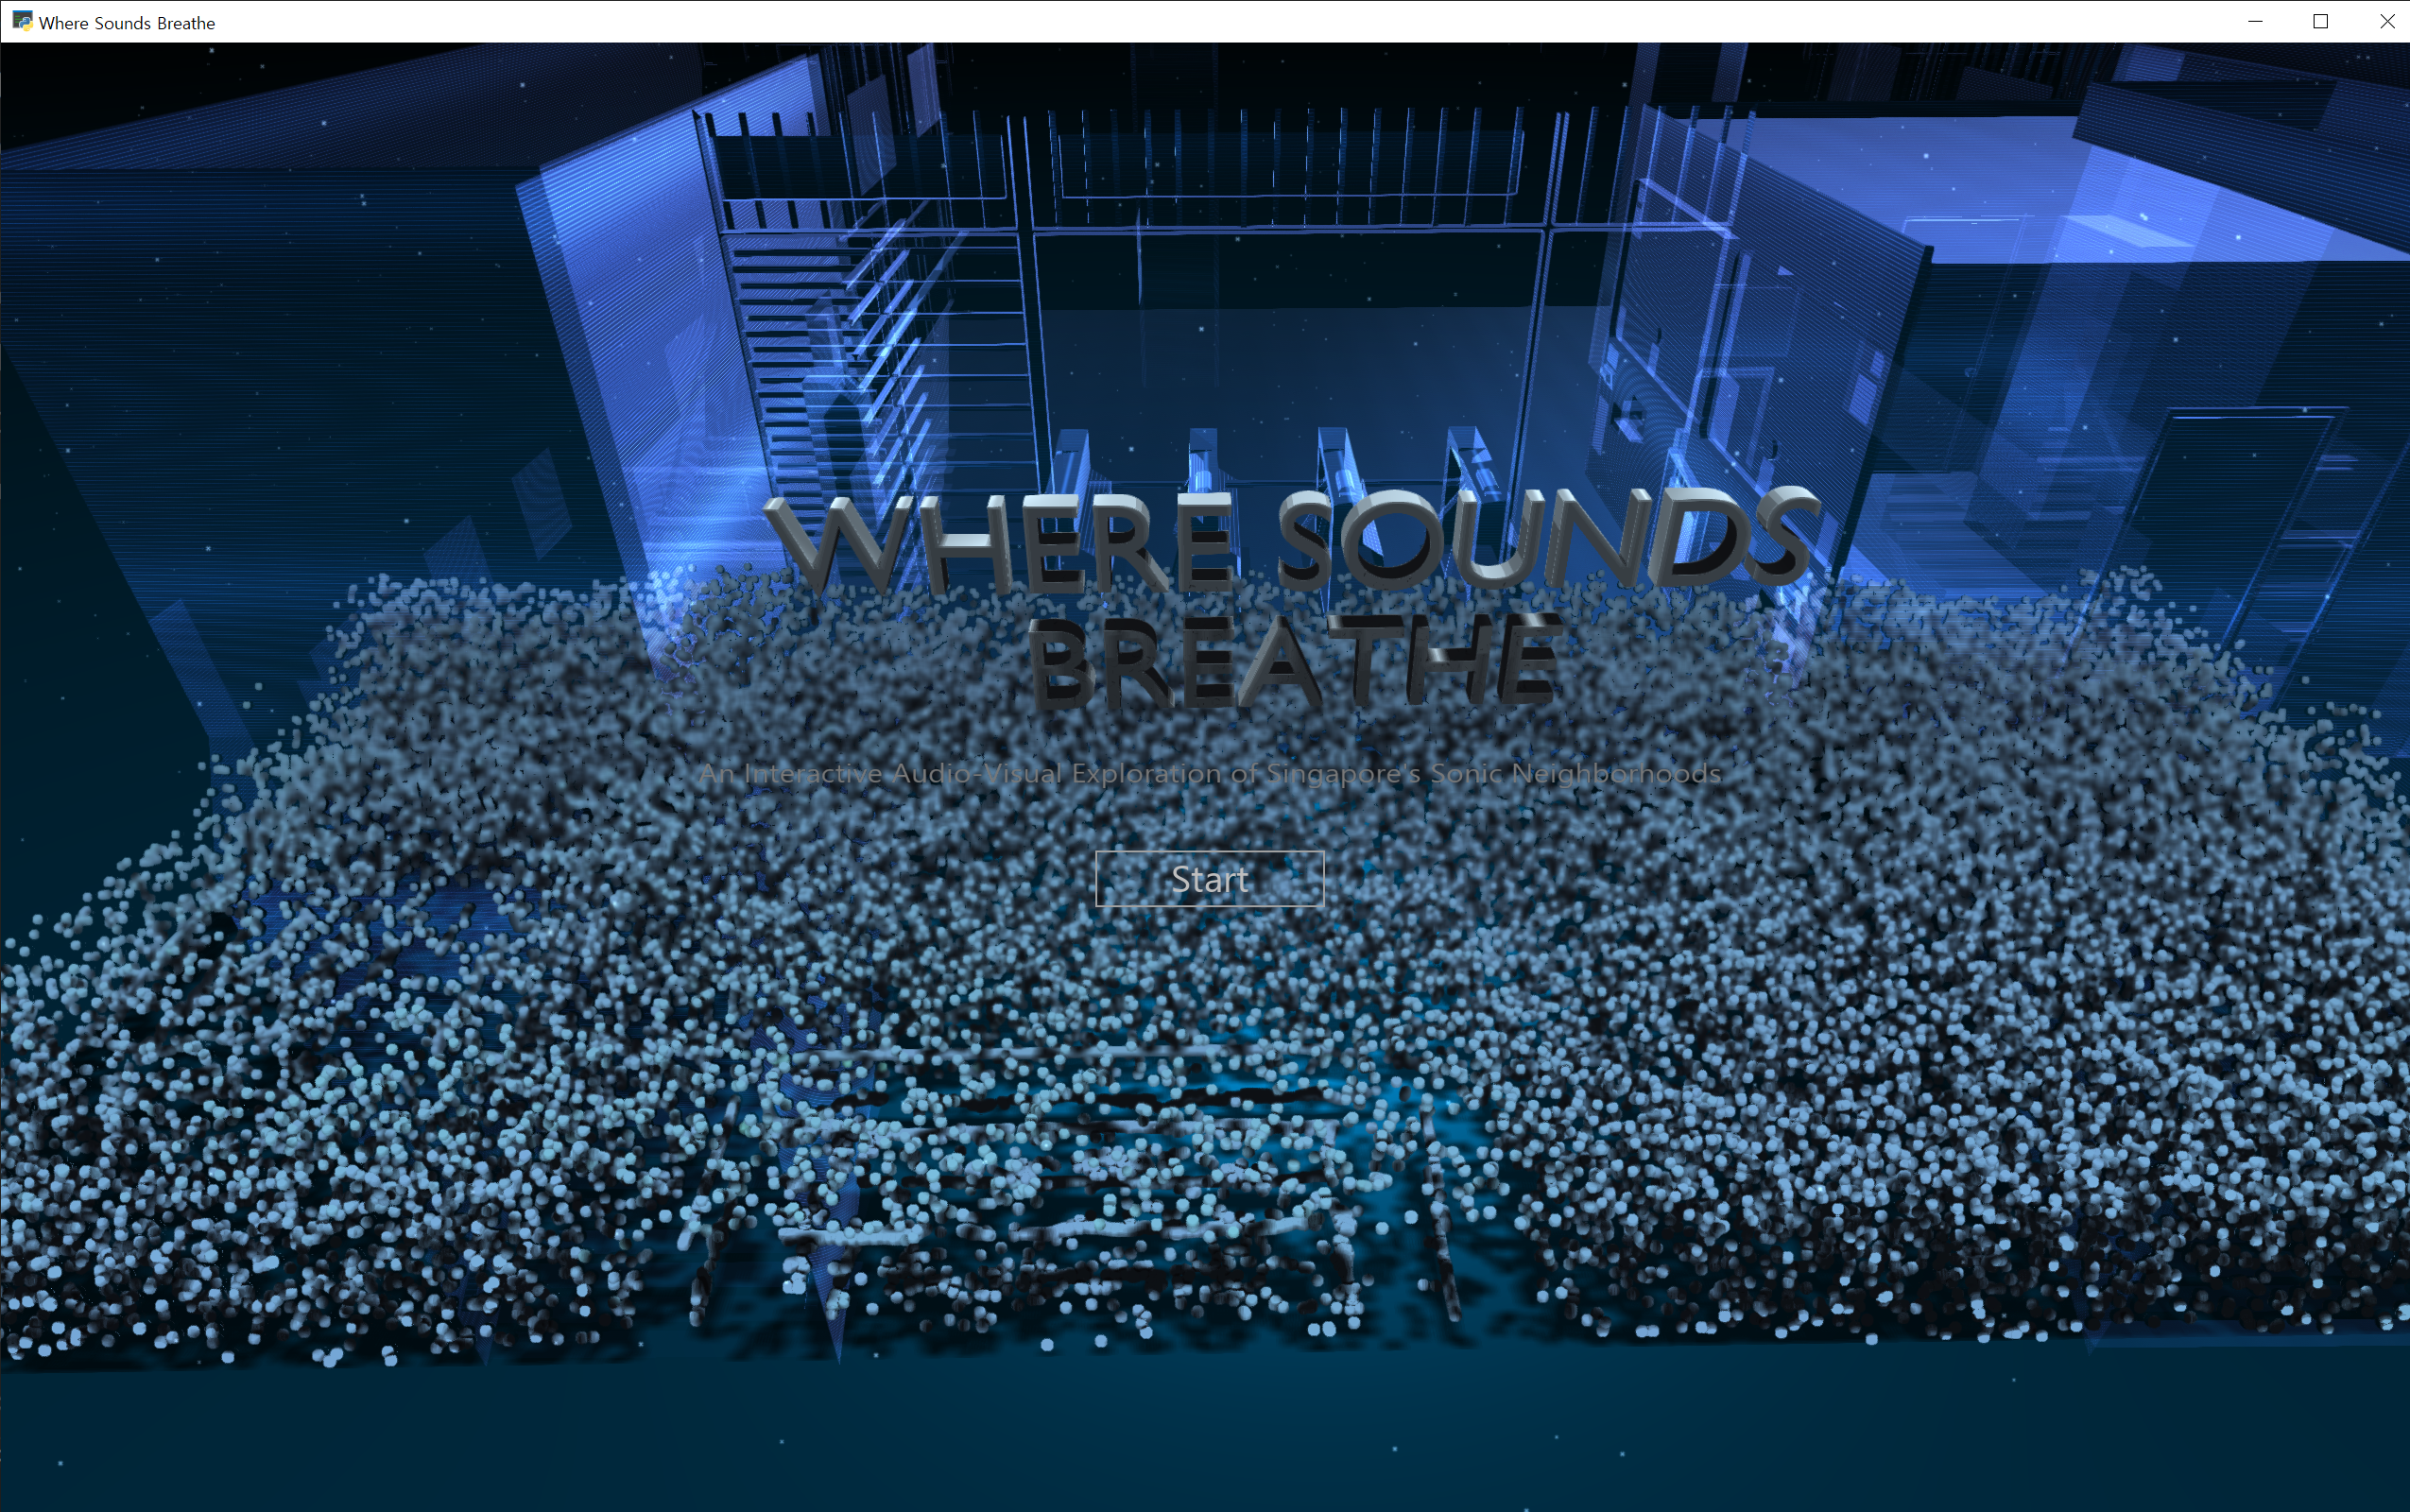
The decision to push the station into a hologram language was deliberate. A faithful recreation of a Bugis MRT station would have been a simulation, and the project is not a simulation. The hologram language holds two things at once. It reads as a station, so the visitor knows what kind of space they are in. It also reads as not-quite-real, which tells the visitor that what they are entering is not Singapore itself but a work about the sound of Singapore. The threshold is visual as well as spatial.
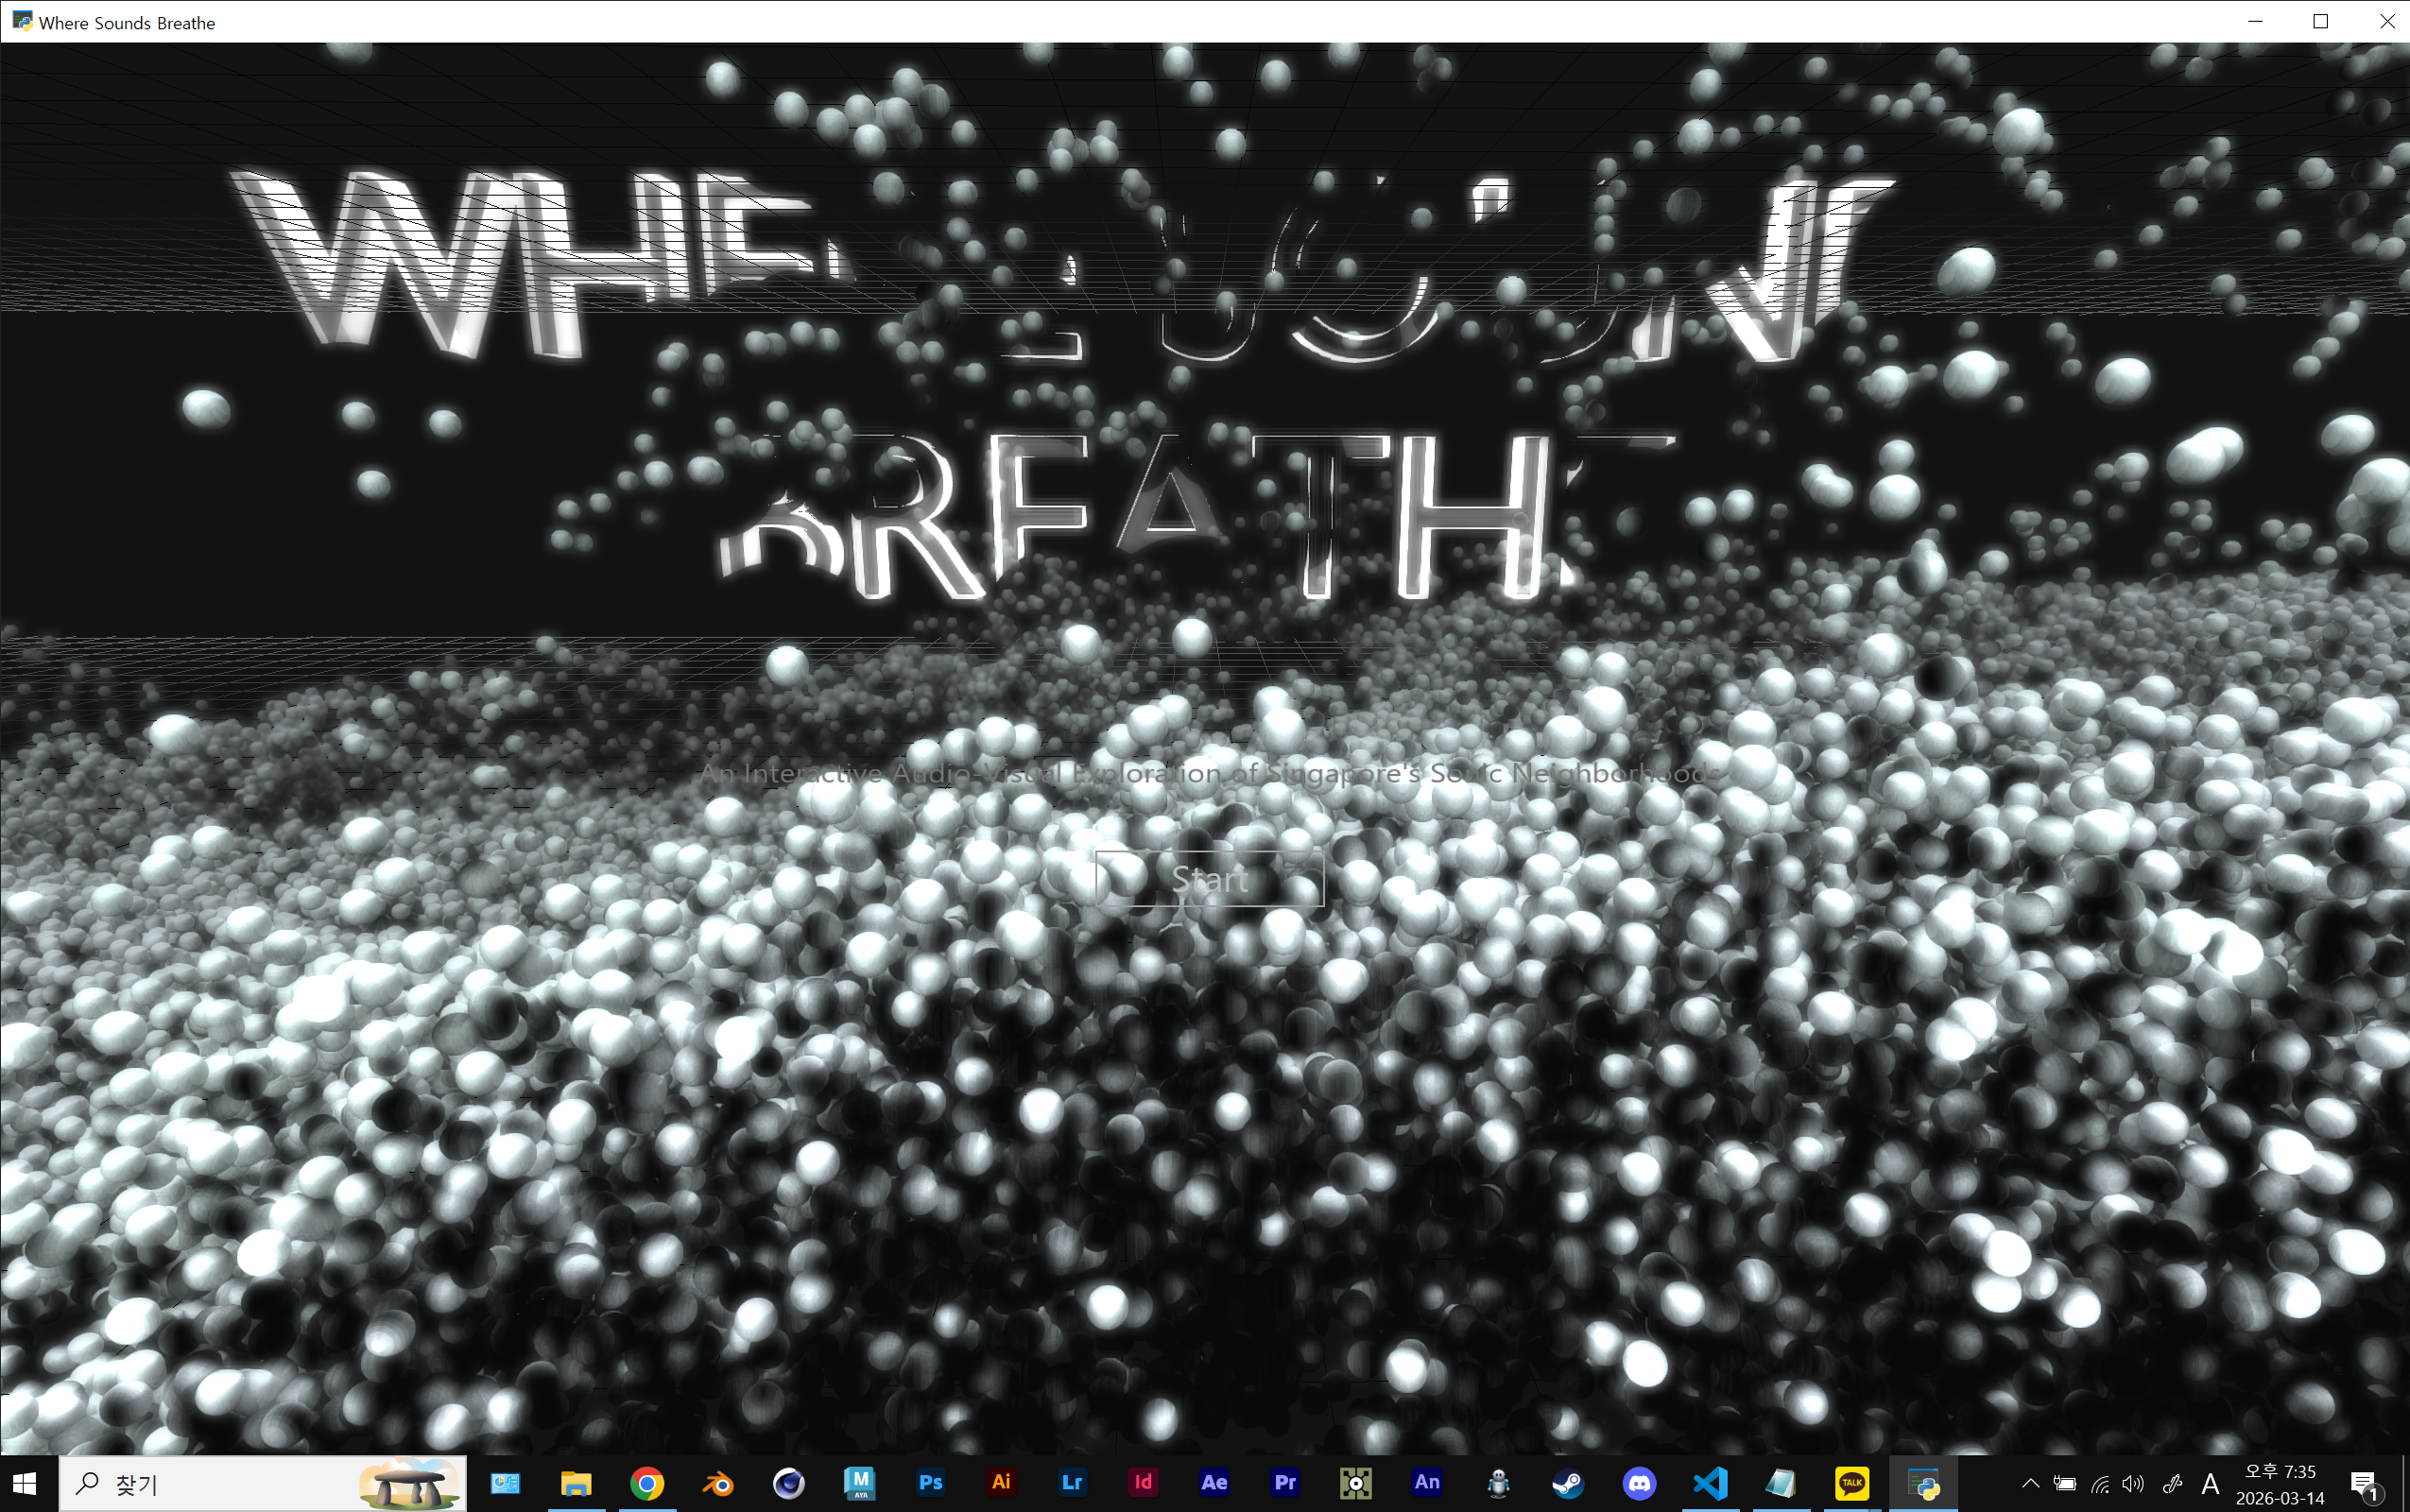
The additional screenshots below span the full arc of the exterior work, from the initial modeling pass to the final hologram application, and show how the hologram language was carried across the other on-screen elements beyond the station itself.
FINAL RESULT · END-OF-WEEK STATE